Installations

Fast & Easy Installation

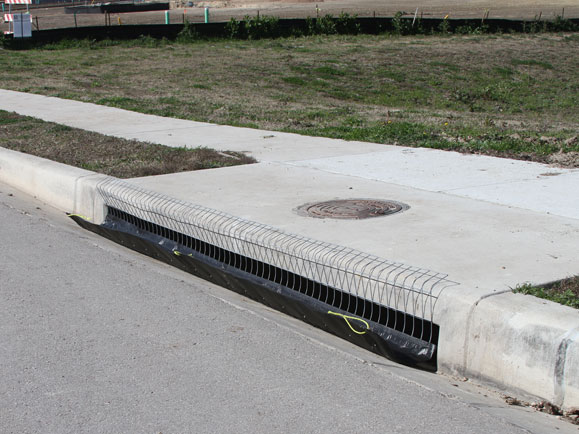
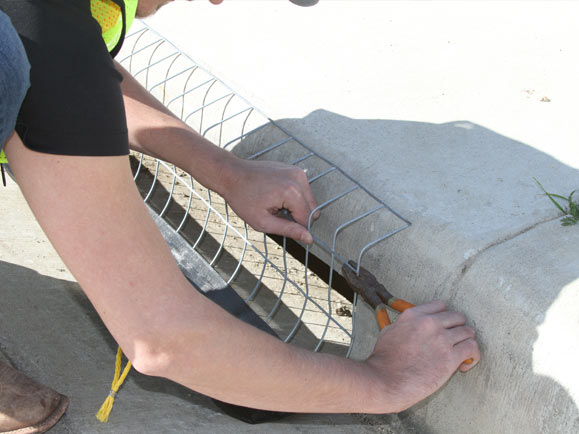
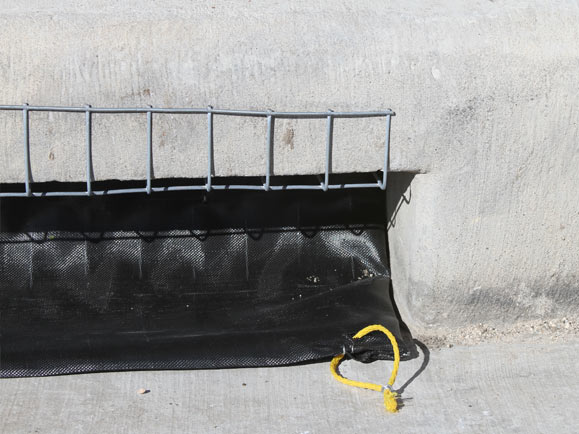
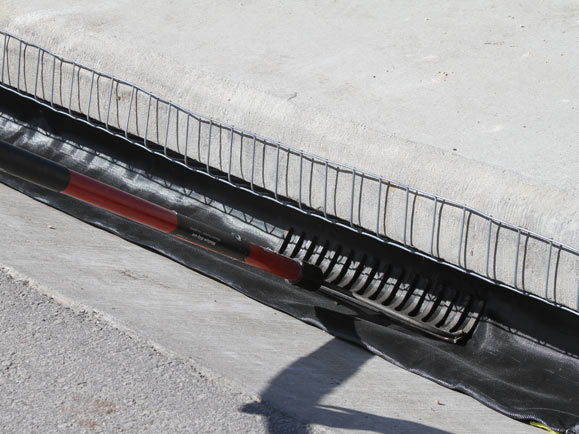
The GeoCurve stormwater inlet filter is easily installed into a curb inlet in a few minutes.

GeoCurve is an efficient stormwater filter that is designed to be simple and easy to install and maintain. GeoCurve is available in a wide variety of standard widths from 3 feet through 10 feet, but can be customized to fit nontraditional inlet widths.

Download Installation & Maintenance Guide

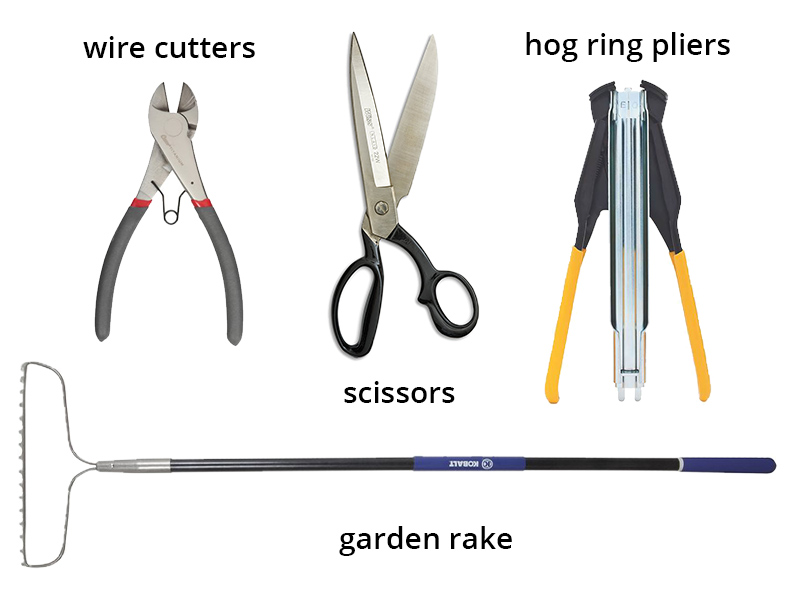
Tools Needed for Installation & Maintenance:

  • Garden rake or
  • Work gloves

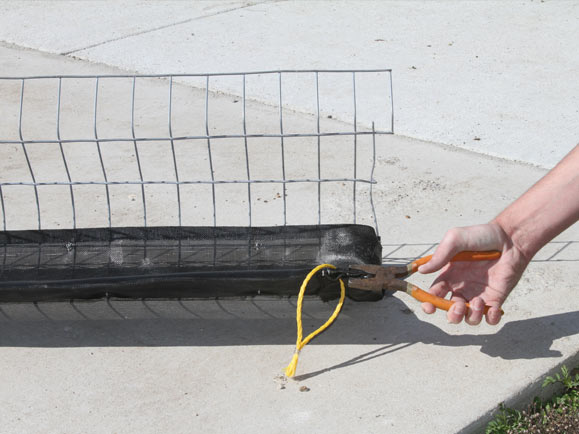
Tools Needed to Adjust GeoCurve Width:

  • Wire cutters
  • Hog ring pliers
  • Scissors

TOOLS NEEDED:

curb filter for stormwater and debris

Easy Installation

Step 1

curb filter for stormwater and debris

Lay the GeoCurve in front of the curb inlet opening to determine if the length of the filter needs to be adjusted to fit into the inlet.

Step 2

stormwater curb filter

If the GeoCurve device must be adjusted, clip first along the outside of the top vertical wire rung in a straight line. This allows the upper row of the grid to remain intact, while the lower portion of the device is shortened as required.

Step 3

installing the geocurve

Adjust the length of the device as required by bending the longitudinal wires toward the front of the inlet filter with a pair of piers.

Step 4

curb inlet protection

Fold any extra fabric behind the device by creasing the fold a few inches from the wire mesh to create a fabric “wing” off the side of the Geocurve. Staple the fabric to the wire mesh on the backside of the Geocurve.

Step 5

curb inlet filter

Place the GeoCurve in the throat of the inlet. There should be a tight seal between the GeoCurve and each side of the inlet.

Step 6

curb inlet filter

Use a rake or push broom to force the GeoCurve into the inlet. To maintain the integrity of the GeoCurve, pushing force must be spread over at minimum of 12 inches. The device is properly installed when the upper retention flange is tight against the top of the inlet and the body of the device is fully within the inlet throat and straight along the front lower edge.

Simple Maintenance

GeoCurve is designed to be cleaned at regular intervals and replaced into the inlet. The device captures sediment and debris within the throat of the device and should be cleaned frequently to ensure optimum performance.

Check local and state regulations to ensure that your maintenance schedule matches requirements. For example, the City of Austin criteria requires removal of the accumulated silt when it reaches a depth of 2 inches or 1/3 of the inlet height.

Cleaning the Installed GeoCurve in Place

Accumulated trash may be hand-picked from the device, and accumulated silt may be removed using a shovel or vacuum truck.

  1. Using a gloved hand, remove accumulated trash and debris from the installed GeoCurve.
  2. Remove accumulated silt using a shovel or vacuum truck.

Removing the Installed GeoCurve for Thorough Cleaning

For a more thorough cleaning, the GeoCurve can be removed, cleaned and replaced in the inlet for further service.

  1. Using a gloved hand, pull on each of the yellow handles to remove the device from the inlet. The collected material is retained in the “C” shaped trough of the device.
  2. Dispose of the collected debris and sediment by turning the device upside down in a designated area. Use a gloved hand to scrape away any remaining silt or trash.
  3. If necessary, use a small amount of water to flush silt away from the GeoCurve Fabric.
  4. After the device has been cleaned, place it back into the throat of the inlet. To preserve the integrity of the fabric, the GeoCurve must be forced into the inlet with a device designed to spread the pushing force over a min. 12-inch length. This can be accomplished with a metal garden rake or a push broom.
  5. Verify that the device is properly installed. The upper retention flange should be tight against the top of the inlet and the body of the device fully within the inlet throat and straight along the front lower edge.
geocurve stormwater drainage solution